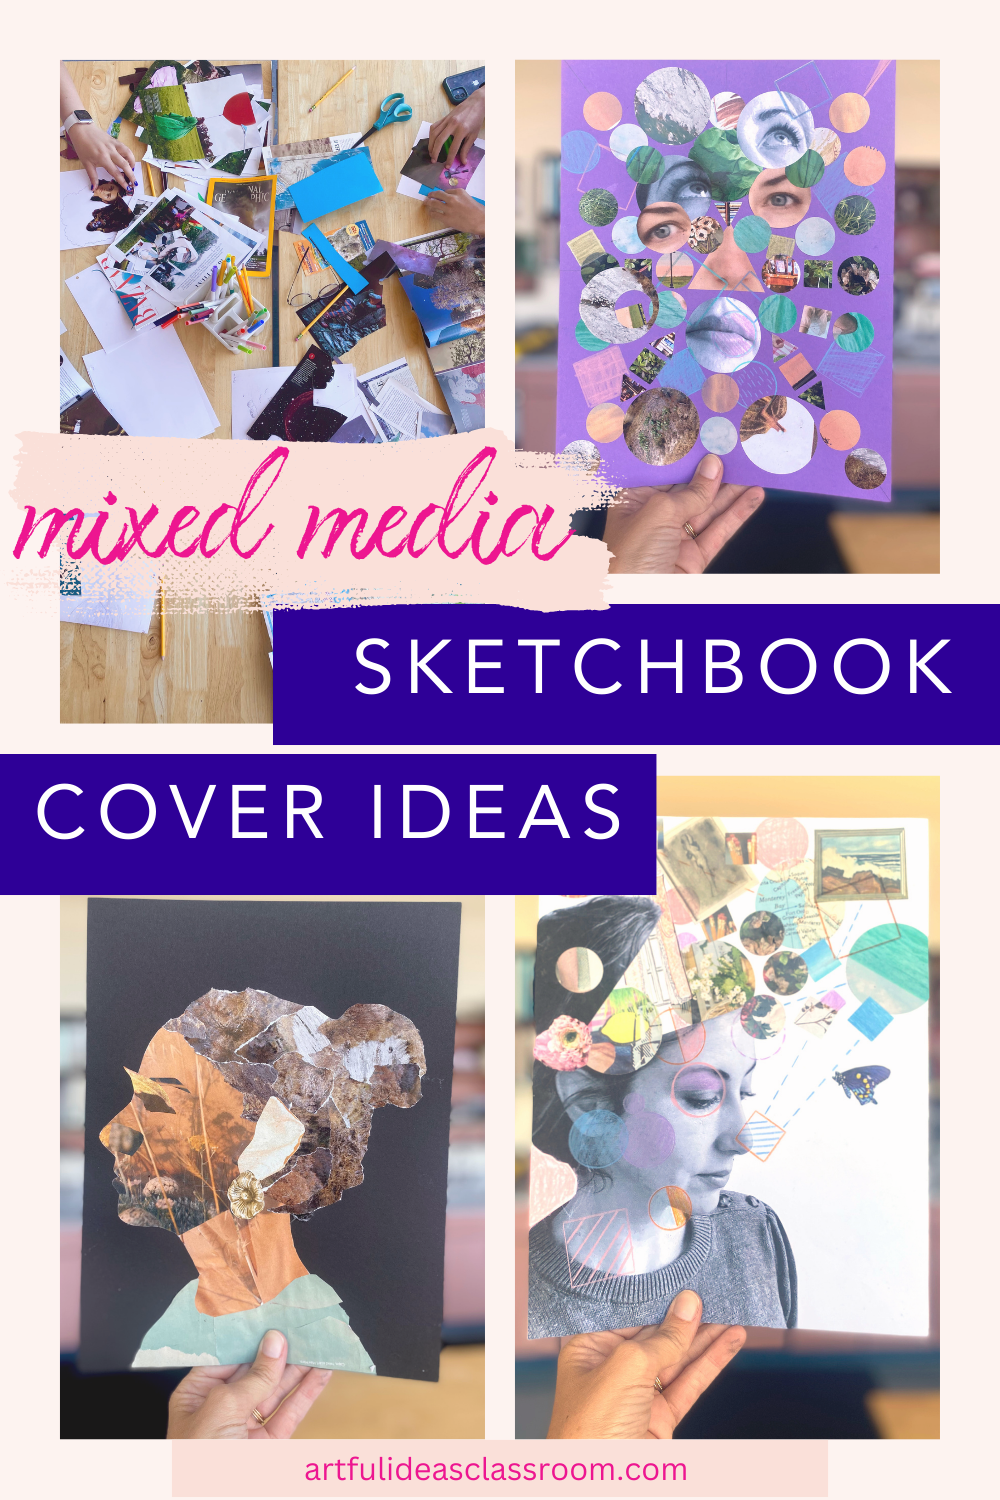
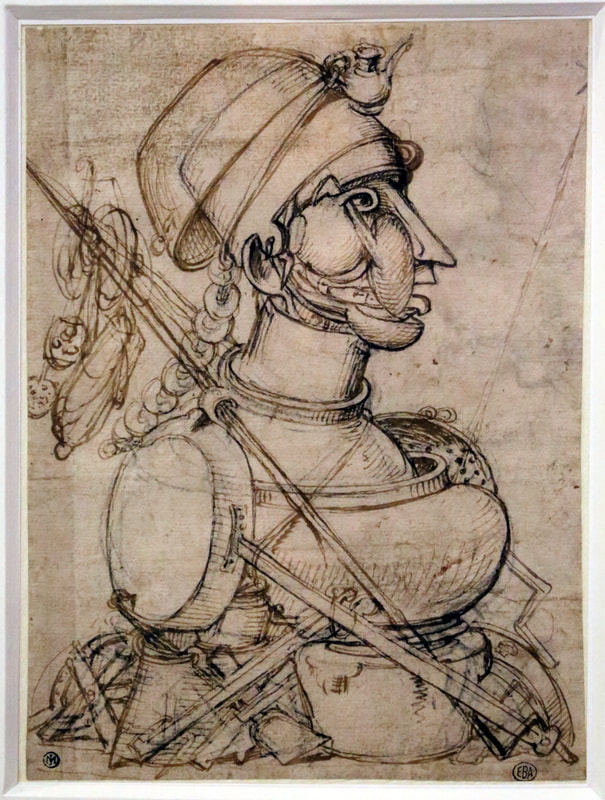
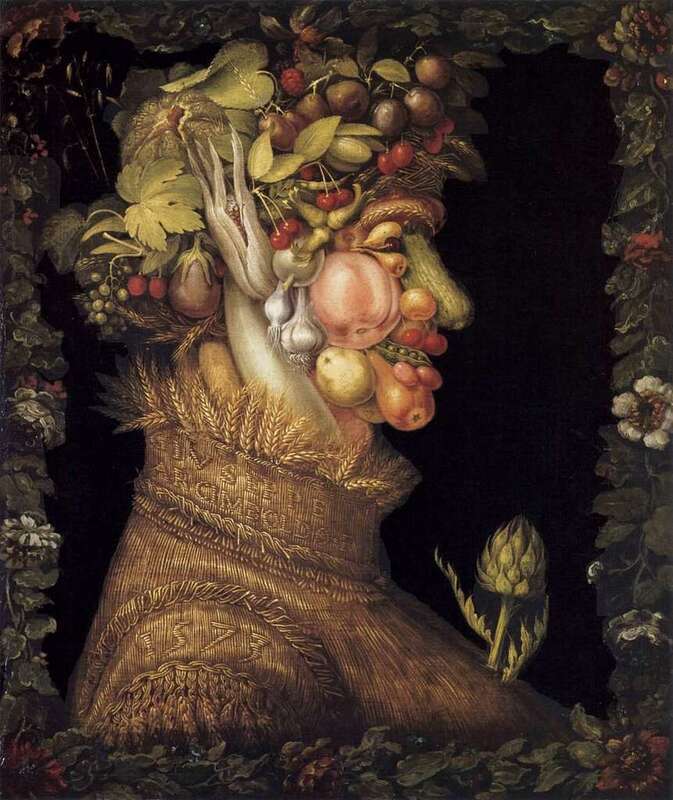
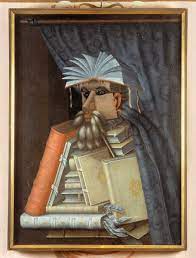
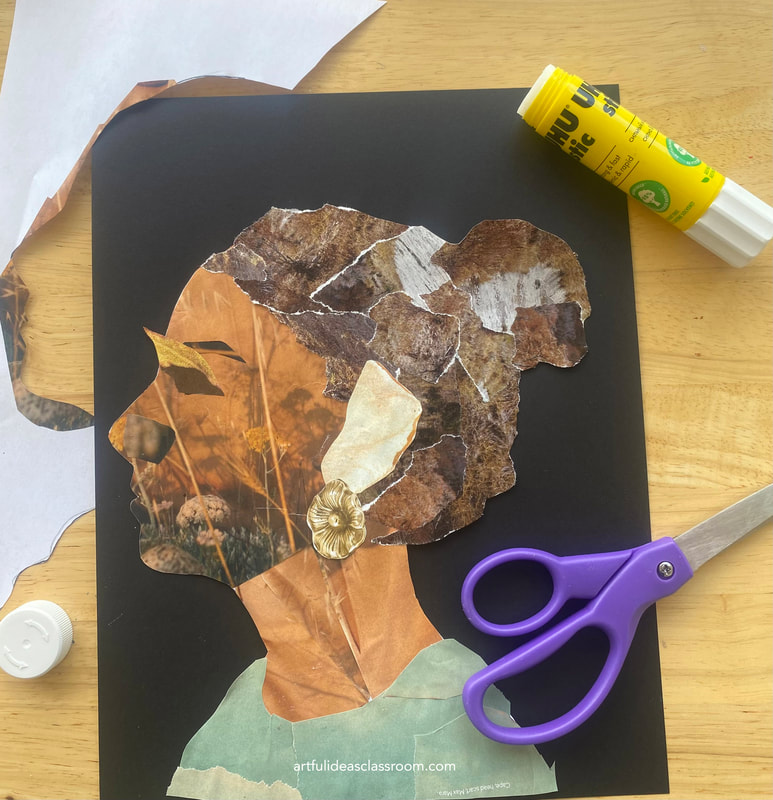
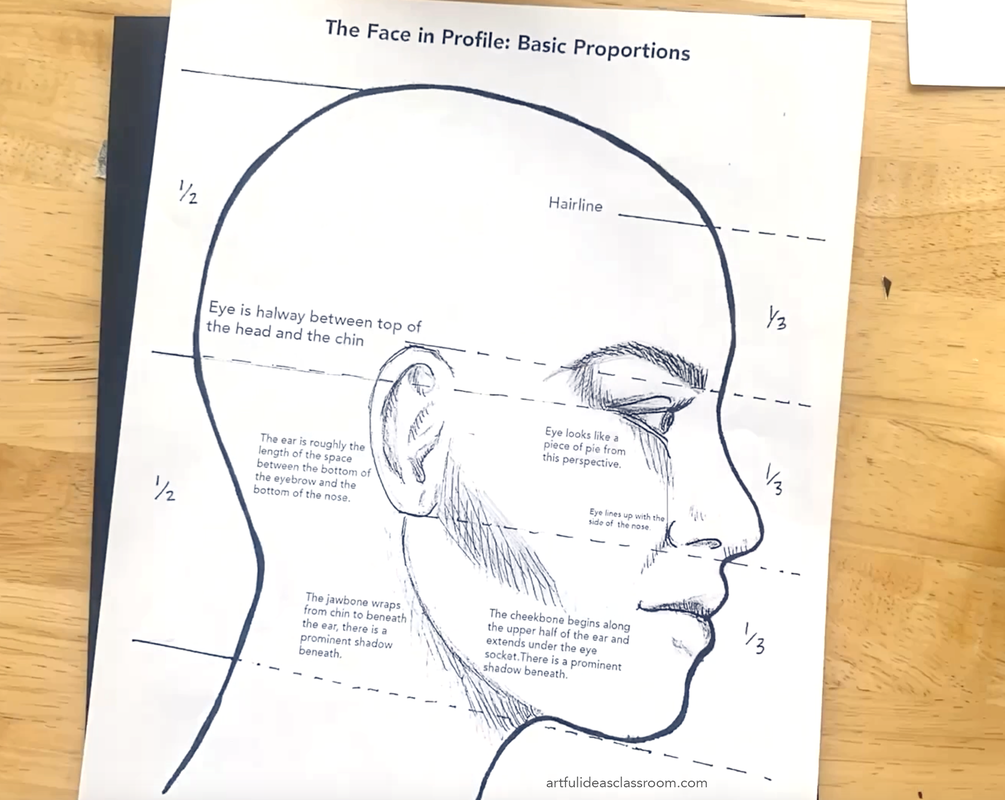
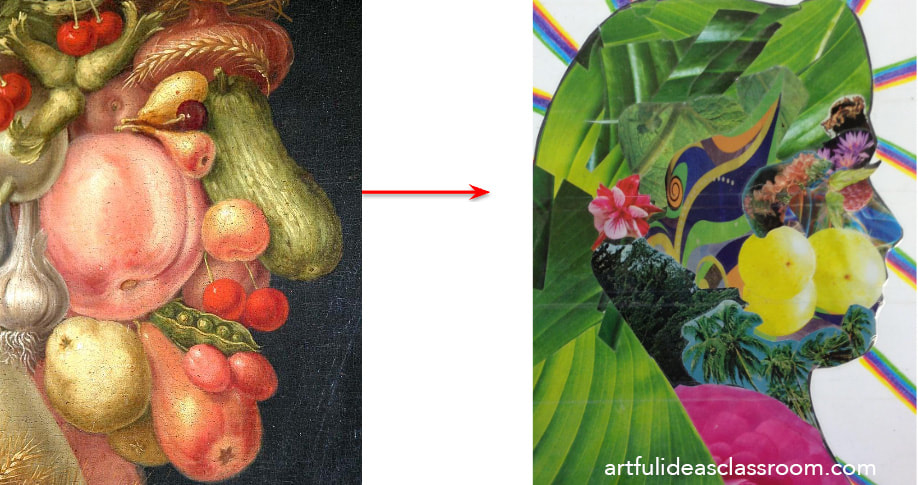
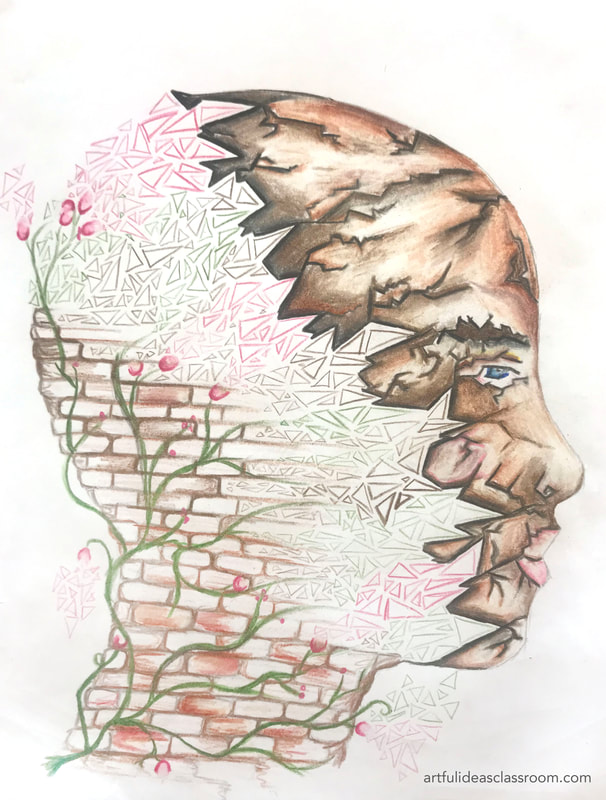
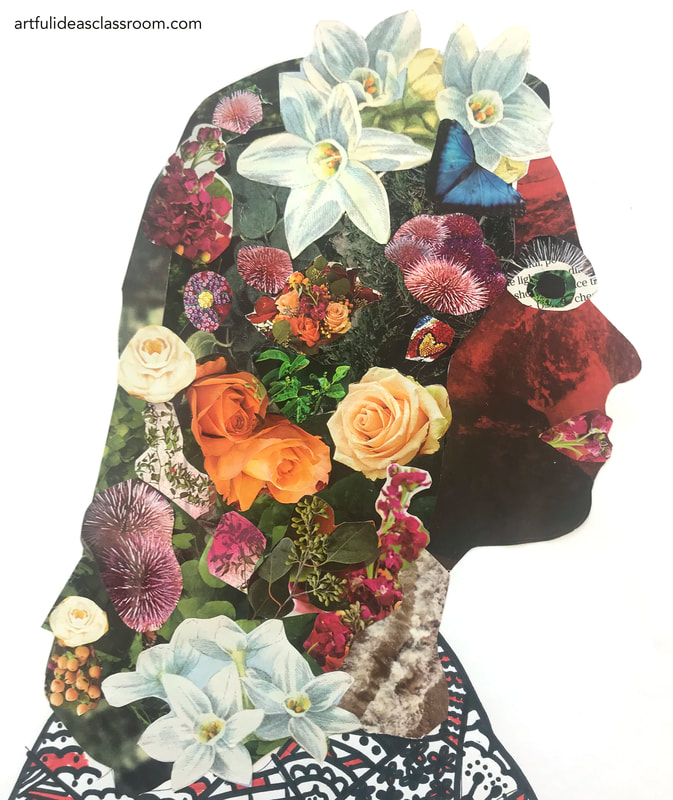
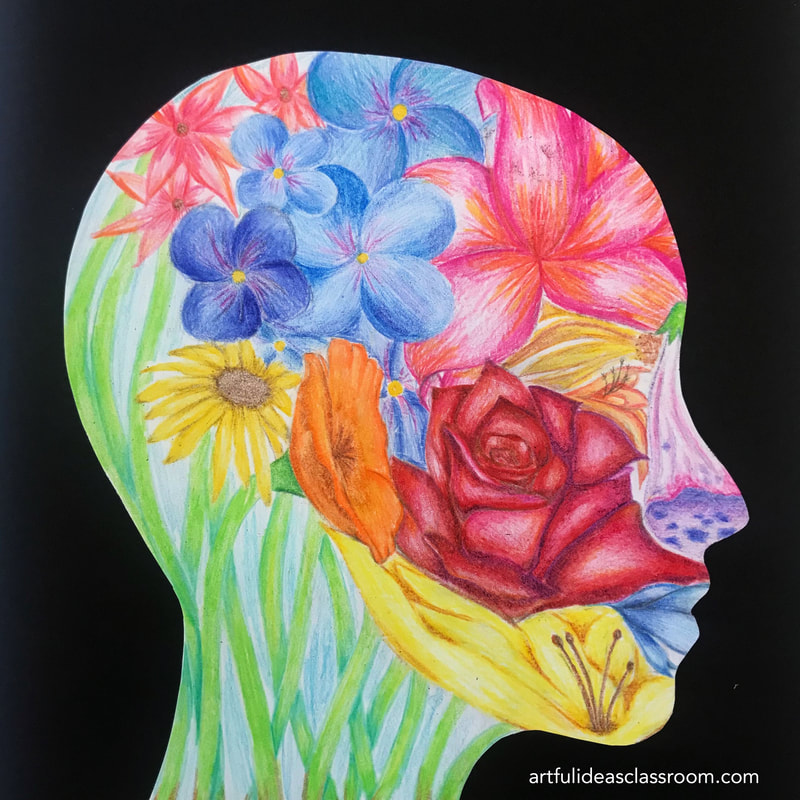
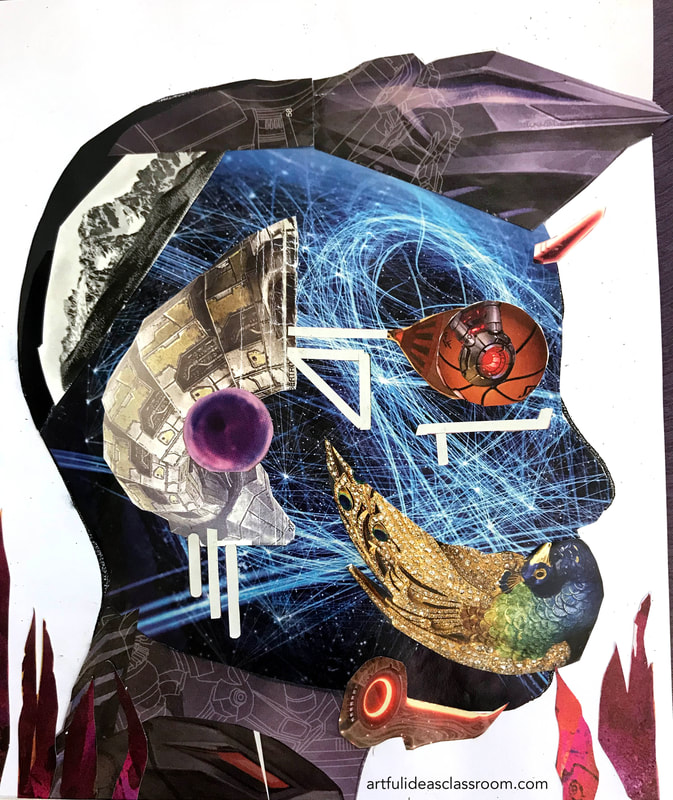
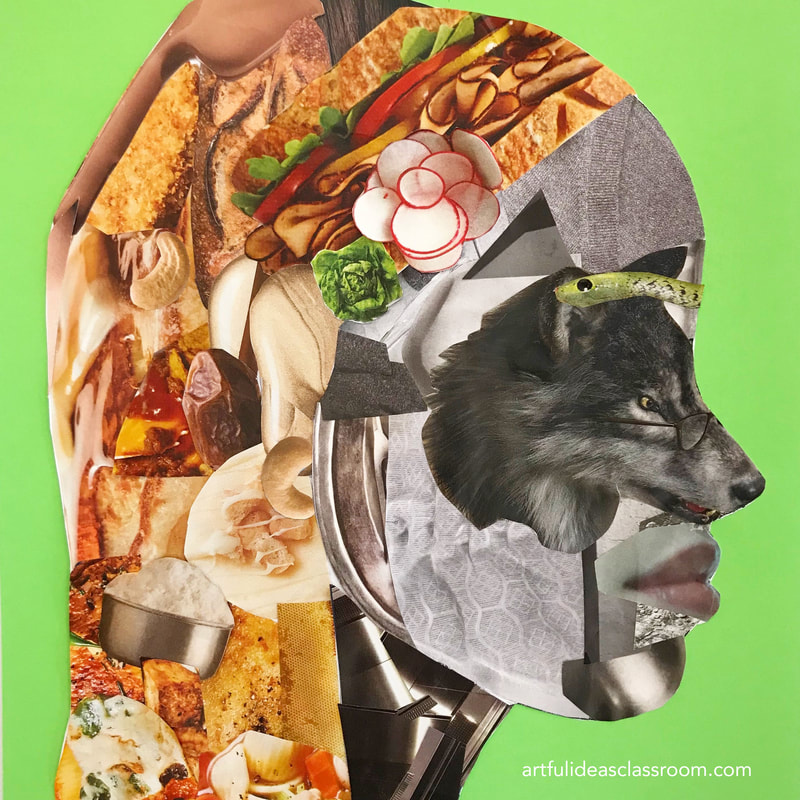
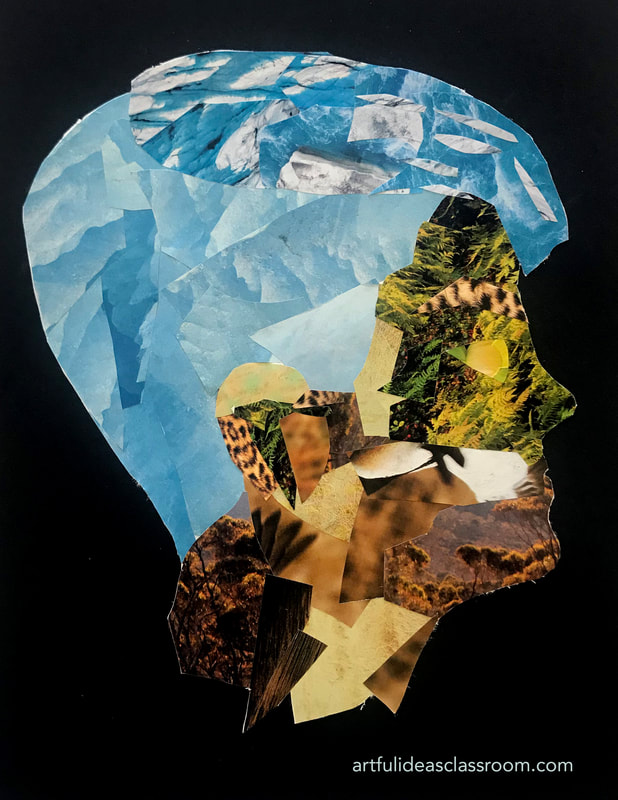
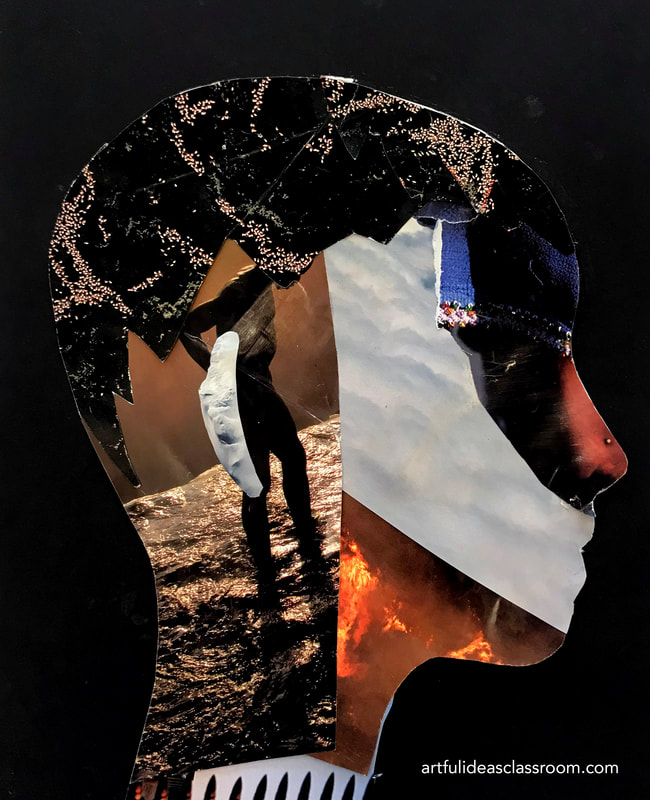
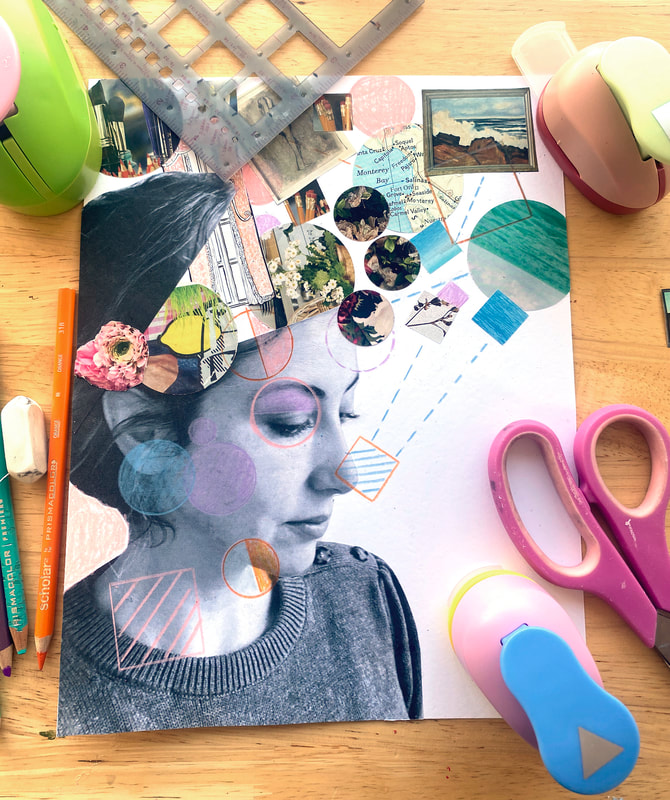
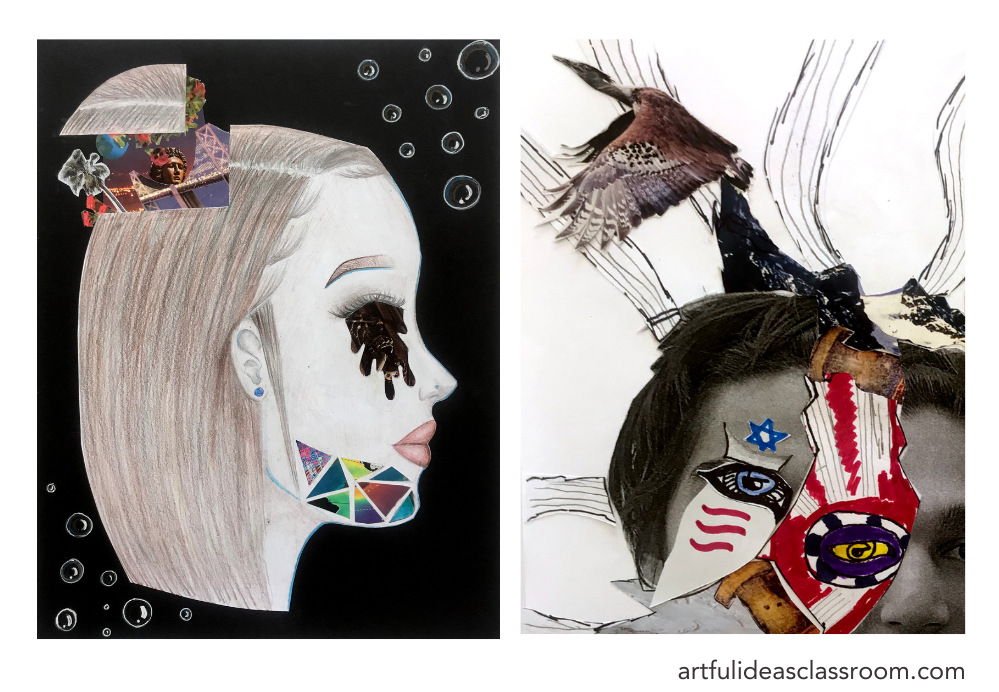
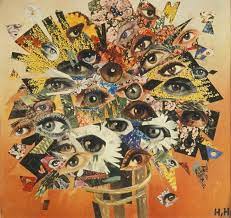
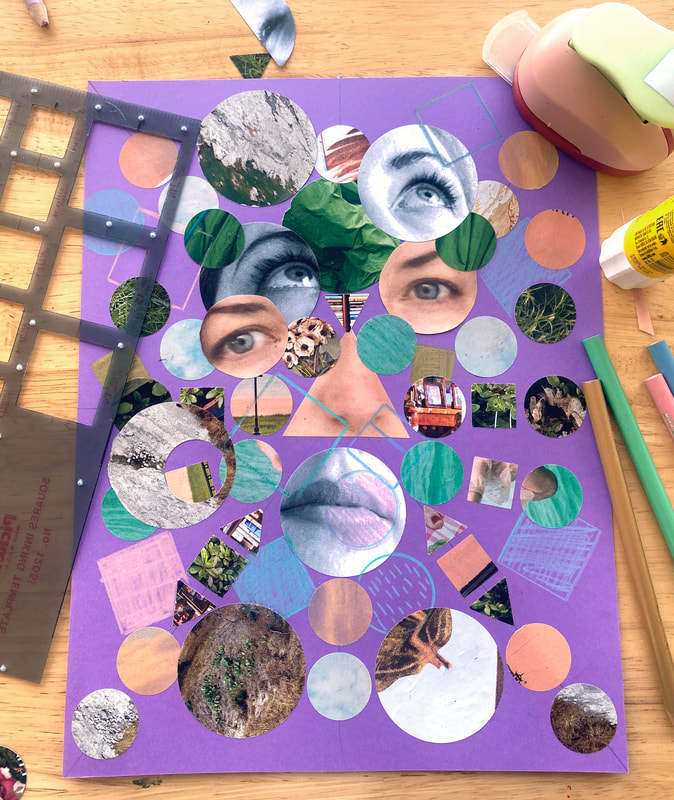
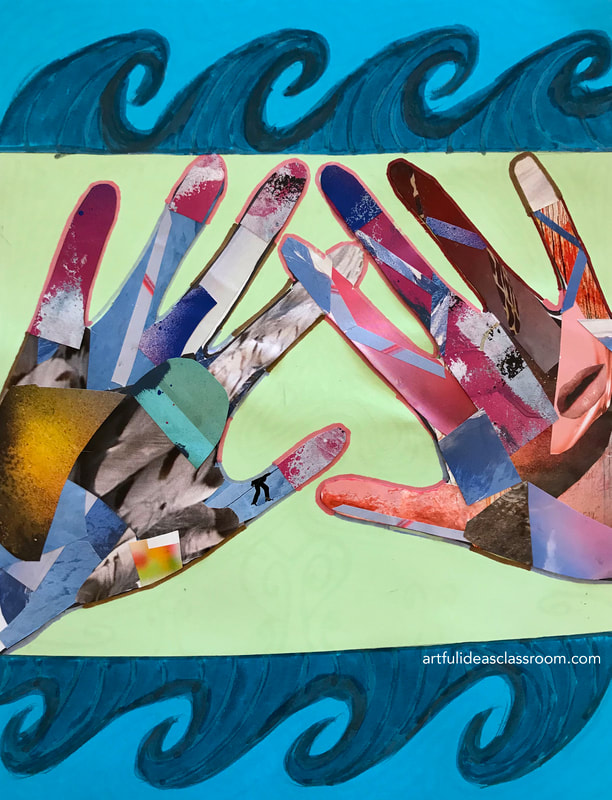
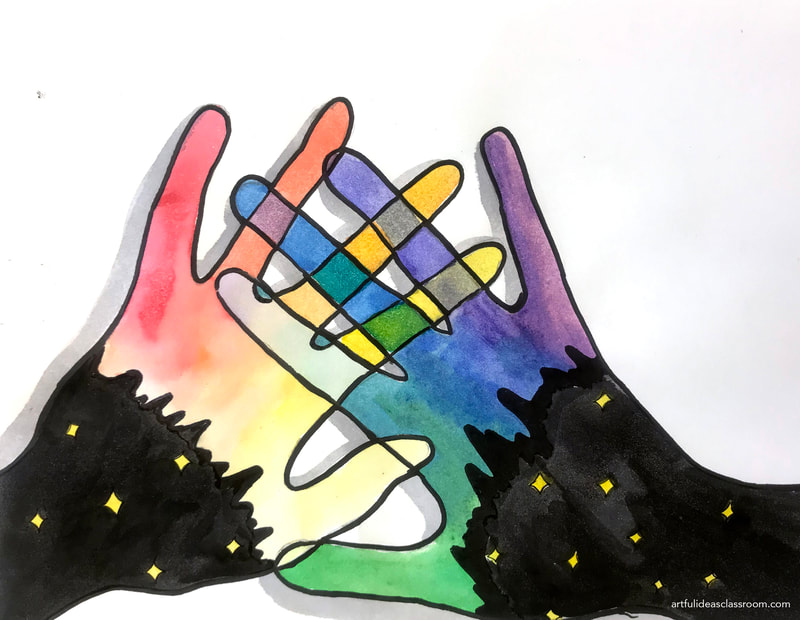
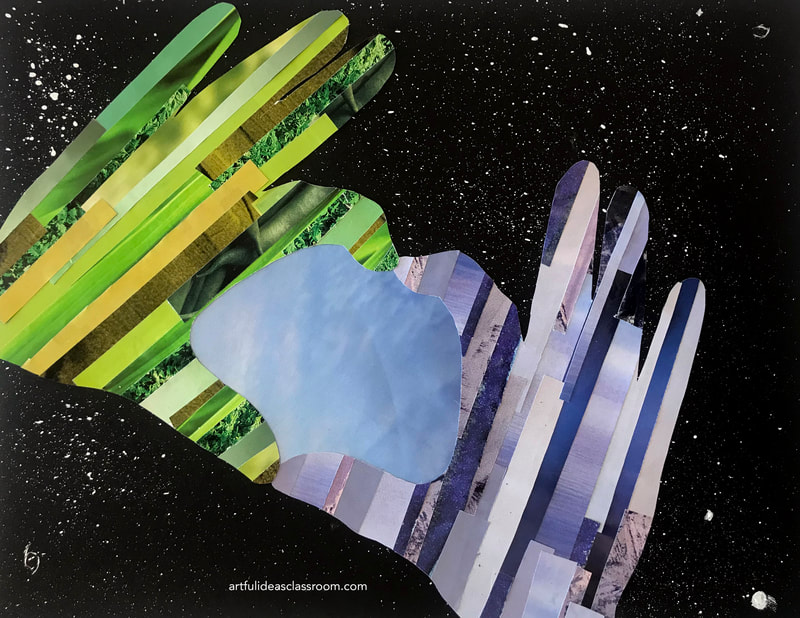
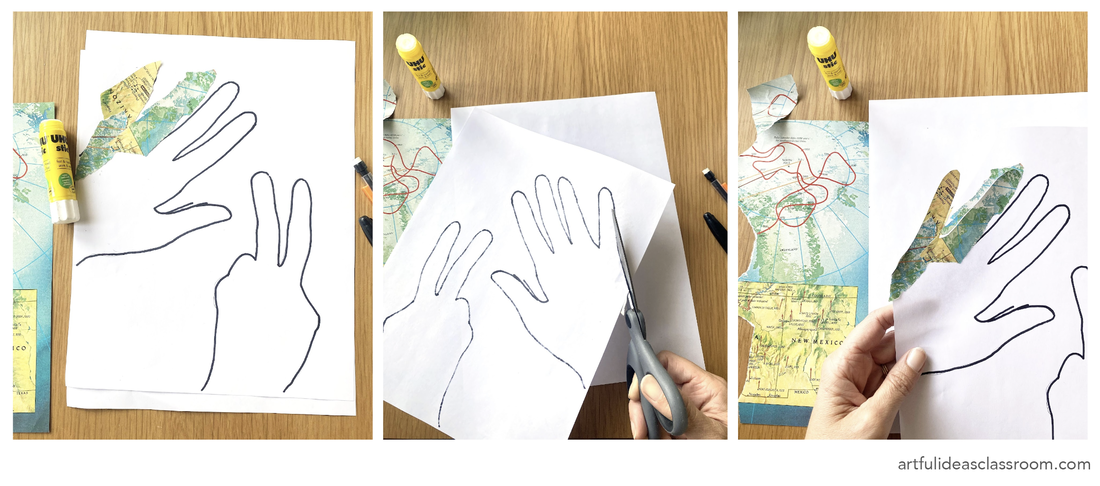
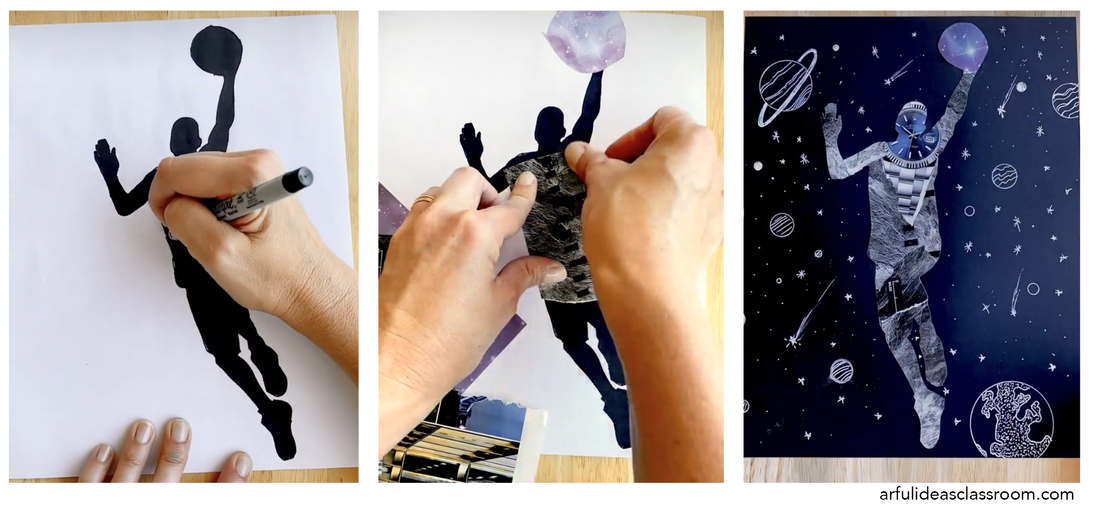
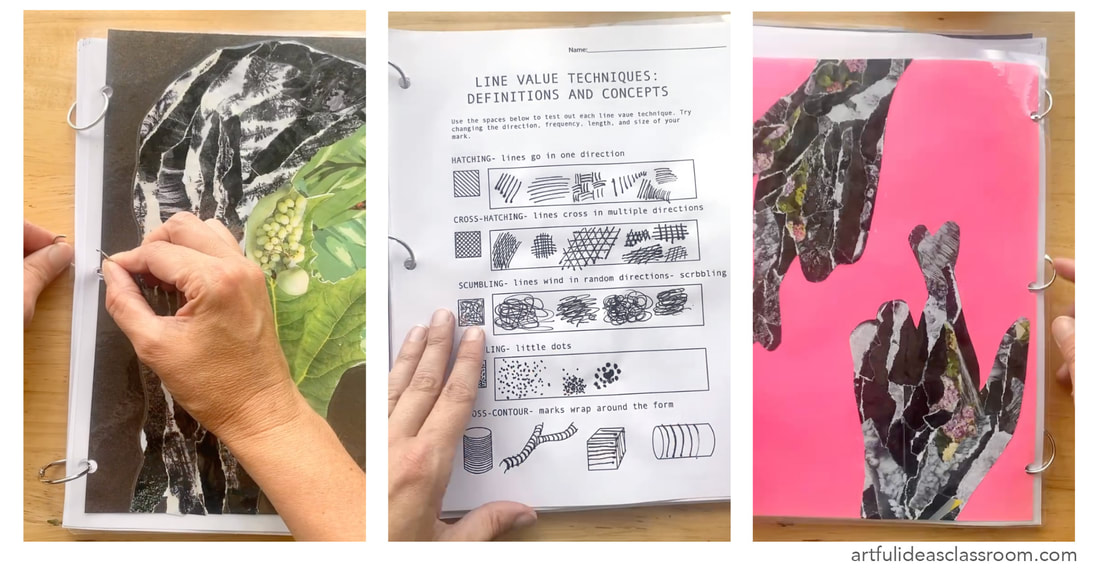
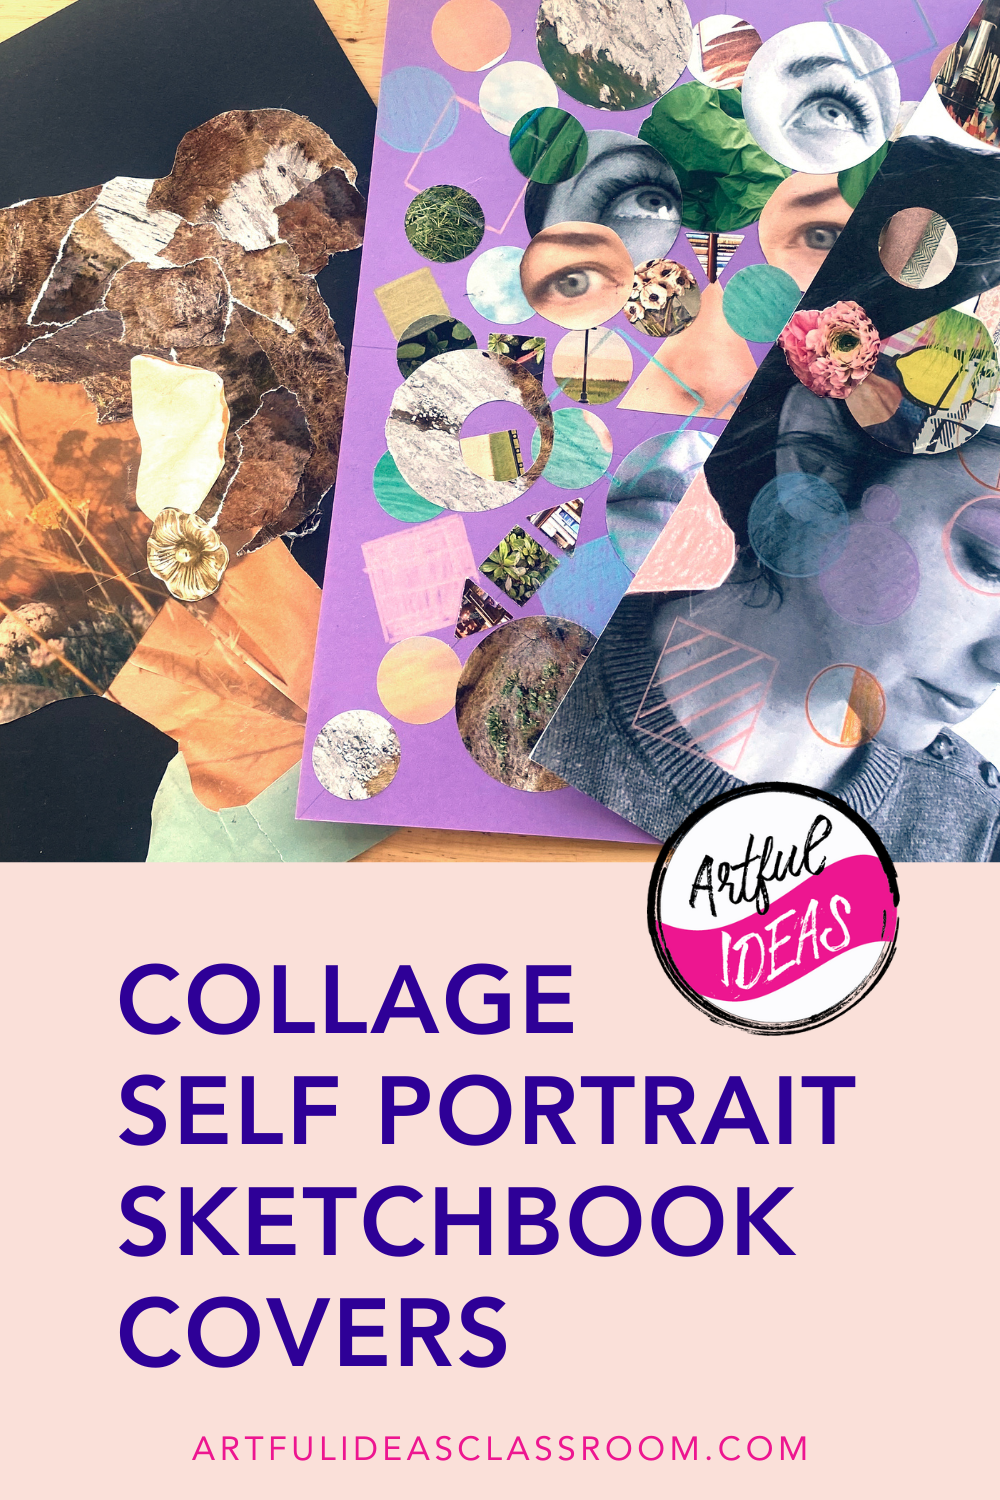
Sketchbook Front Cover IdeasCreating sketchbooks as a first project is a great way to start out middle school and high school art classes. When students design their own sketchbook covers they take ownership over them and each time they take out their sketchbook it is a reminder that they can create art. Designing and creating personalized sketchbook covers is also a great way to assess students' skill levels early in the school year and a way to get to know students and their interests. I love to keep these project prompts open-ended and low stakes so that students can showcase their styles and artistic abilities. I will share 3 easy and imaginative mixed media sketchbook ideas that require minimal prep and encourage creativity. I will also show you my “no-bind” system of creating sketchbooks that students can easily add pages/worksheets to throughout the year. All 3 of these ideas only require the simplest and often recycled art materials: magazines, copy paper, card stock, pencils, markers and glue sticks. To get the full list of the supplies I purchase for these projects, download my *Free* Art Materials Guide. Mixed Media Self Portrait Collage Cover Inspired by Giuseppe ArcimboldoGiuseppe Arcimboldo was an Italian Renaissance artist who is known for his bizarre portraits of the Hapsburg court. Arcimboldo, like many artists of his time, was fascinated with hidden images, puzzles and visual illusions and he created portraits of the Austrian nobility using fruits, vegetables and objects standing in for the various features and volumes of the face. He often included visual puns in his work in the arrangement of the objects and their placement. For example using an “ear of corn” as the actual ear in a portrait. Arcimboldo was classically trained and had a sophisticated understanding of facial proportions and because of this his portraits look uncannily like the subjects even though the style is far from realistic. He also used these portraits as a way to subtly criticize the opulence of the nobles he painted, for example he represented a book collector with his face filled with books, but he also included several dusters to highlight that this wealthy man collected books only to gather dust. I love to share this Art History with students but to also relate this artist with contemporary artist Wangechi Mutu whose mixed media collage work is more closely tied to the medium students will be using for this project. I find that this style of mixed media self portrait is far less intimidating than a realistic portrait and allows students the freedom to express their own interests and offers a clear achievable entry point for beginners. It also allows me to assess some basic skills like using scissors, pencil control/tracing, using glue sticks, recognizing shapes/colors and visual problem solving. Steps to Creating the Sketchbook CoverI give students two options for getting started on this project. They can either let me take a photo of their face in profile and trace the image or use a generic profile outline that I have available. Both methods can lead to beautiful results, but I try to encourage students to use their own silhouette because it is much more personalized that way. The generic profile is a great option for students who do not want their photo taken or to use their own face and I like to have it available knowing that not all of my students have the same comfort level in art class and I definitely don’t want to exacerbate any discomfort this early in the year. I typically introduce the proportions of the side of the face and students follow along with a simple drawing demonstration. Although they will use the proportions to guide the placement of the objects, there is room for exaggeration and distortion in this project. Following the demonstration I pass out an illustration guide handout (see above) for students to reference when sketching out rough outlines for the features of the face. If students traced their own silhouette for this project they can use their reference photo to guide their sketching. This part of the project is tricky, it is necessary for creating the Arcimboldo style which has a connection to the facial anatomy but some students lean too heavily into this more realistic part of the project and it prevents them from embracing the visual problem solving aspect of this lesson which is to substitute the features for images, shapes and textures. My advice is to demonstrate a very roughly sketched example so students know what to aim for. Also, when students are sketching keep an eye out for students spending too much time on this part of the process and guide them back to your rough sketch example. I have this full lesson up on my tpt store including the slideshow, handouts and step by step instructions. I make a wide variety of materials available for students for this lesson including several types of magazines (Nat Geo, Design/Architecture, Popular Science, Sports) I make sure to look over magazines thoroughly before putting them out to make sure that there isn’t any imagery inappropriate for the grade level of students. I collect these magazines from reuse supply stores in my area, but if you don’t have that available you could ask your school community for donations. I also provide drawing tools: pencils, sharpies, gel pens, colored pencils and markers. Some students prefer to draw all the elements in their design. This is more labor intensive but it comes out beautifully if a student has the dedication to follow through. It is important to show a demonstration of how to place images, shapes, colors, and textures into the silhouette to suggest the facial features. I like to show this on my document camera so students can see my hands trying out different arrangements before gluing anything down. I also explain that the face must be built up in layers, laying down the background and layering the features on top. The best method is to wait until the design is mostly figured out before gluing anything down. Because of this I provide each student with a gallon size ziplock to keep all their collage pieces together during the process. Often students will have an object for the “eye” early on only to change it at the last minute when they stumble upon something that just works better for their portrait so waiting to glue is key! These sketchbook covers are incredibly creative and give students the opportunity to work through visual problem solving and to see images, textures and shapes in a new light. They often look like the students themselves and that is so fun to see! Below is a student work gallery showing a variety of approaches to this project. "Open Mind" Collage Sketchbook CoverThis “open mind” sketchbook cover idea originated from images I saw on Pinterest a few years ago. These images depicted a head opening up to reveal a series of images and shapes, some of them are titled "head explosion" but I would rather use the term "open mind" because it relates more to the way artists see the world. I love the metaphor of showing what is inside the head as a sketchbook cover because I always tell my students that their sketchbook is essentially their “brain on paper.” I’ve used this idea in my advanced level drawing and painting classes and students have either used a photo of themselves (they email it to me to print out on regular copy paper) or draw themselves on a separate paper to collage into the cover design. Then students simply cut the top of the head off and position it in another location in the composition. They can make it look like the top is hinging open or blowing off in an explosion. I’ve even had students cut one side of the face and separate it from the other to create the design. The main idea is that the student shows some of their interests or just the style aesthetic they are drawn to by what they choose to include. Once again, I encourage my students to wait till the final stages before gluing anything down so they can play with compositions, angles and overlapping to achieve a more dynamic and intriguing cover. Some students like to print images at home to bring in and I will often let students print a few personal images on our classroom printer, keeping it limited to the students own photos and not internet search images. As a final touch students can embellish these designs using the drawing tools. I also provide shape stencils and drafting tools for this stage of the process. The final sketchbook covers are so unique and tell a story about students’ experiences, identity and interests, it is a great way for students to introduce themselves visually to the group! Dada Inspired Collage Sketchbook CoverThe final idea is a Hannah Höch inspired Dada collage cover. Hannah Höch was an influential artist of the Dada art movement in Europe during WW1. This art movement was a reaction to the devastation of WW1 and artists in this movement were interested in countercultural ideas for the time period, including irrationality, the subconscious and free association. Collage was one of the main mediums for this movement, and was called “photomontage.” Hannah Höch often created very fragmented portraits of herself and others, a famous work entitled “ Bouquet of Eyes” (1930) depicts a bouquet of flowers that is full of human eyes cut from magazines, the image is unsettling but also thought provoking. For this sketchbook cover idea it is good to also begin with a printed photo of the student (or a few photos from different angles). As well as magazines, scrap papers, glue sticks, and drawing tools. I like to demonstrate how to create compositional guidelines on the cover paper (marking the center vertical, horizontal and diagonal lines to each corner) these guidelines are helpful for intentionally creating areas of symmetry and asymmetry in the composition. I also like to provide geometric shape hole punches for this lesson so that students can easily cut out shapes to create a complexly layered collage as seen in the work of Dada artists. The idea of fragmentation is interesting to discuss in a portrait because all of us are in a state of flux as we grow and have new experiences. I like this metaphor for adolescent students especially because it is a stage in life where they are growing and changing so rapidly as they try new activities, meet new friends and discover new interests and passions. Colored card stock makes a great background for these collages and the topic of color can be woven into this activity as students choose which colors they want to use for the project. It might be a good idea to introduce some basic color schemes (complementary, analogous, warm/cool, triadic, monochromatic) so that students have something to reference when choosing colors. Sketchbook Back Cover Design IdeasBut what about the sketchbook back cover...? For the back covers I provide my students with the prompt “the artist’s hands,” students have to show one hand to represent how they use their hands to carry out their creative ideas. Some students include several hands, some include only one. I like to demonstrate how to trace their hands to make simple silhouettes that they can fill with collage or drawings. If students trace these silhouettes in sharpie (permanent marker) it will bleed through the paper and make it easier to cut out later if they collage outside of the lines, they simply turn the paper over and their lines will be visible. Silhouette Design Sketchbook Back CoverAnother idea for the back cover is to provide printed silhouettes and let students fill them with collage/drawing using the same technique of tracing the outline in sharpie to let it bleed through. I have done this in the past and printed out silhouettes of animals, athletes and anything students express interest in. Students who are more advanced can draw the silhouette themselves as a good observational drawing challenge. Easy Sketchbook Binding ProcessI love the look of artistically bound sketchbooks, but for my classes I need my students to be able to add pages of different types of papers, add worksheets, handouts and be able to move pages around and organize sketchbooks. So in that way the sketchbook operates more like a binder in my classes. The simple binding solution that I use to accomplish this level of flexibility, is by using a three hole punch and book rings. Students laminate their sketchbook covers and then hole punch them with a three hole punch. I provide a large stack of three hole punched copy paper for sketching that students can add to their sketchbooks right away. Then throughout the year they will add in the various materials studies we do on different types of paper, worksheets, graphic organizers for notes and any personal sketches they would like to add. Their sketchbook is part of their grade and they feature their favorite pages in their final Process Portfolio slideshow. Starting the School Year with Self ReflectionBeginning the school year with this self portrait sketchbook cover project is an excellent way to better understand your students’ artistic perspectives and encourages students to engage in self-reflection. I have observed that this project leaves students feeling confident and proud of what they created and it makes the sketchbook a special personal artifact that students can take with them when they leave the class and continue to use. The artists explored in these lessons come from diverse backgrounds and time periods and this helps students glimpse the scope of art history and contemporary art, making it much more accessible to the beginning artist. I love to point out how centuries after Arcimboldo we are still exploring alternative styles for portraiture and that they are participating in that “artistic conversation” through creating their sketchbook cover designs.
0 Comments
Leave a Reply. |
AuthorI'm a high school/middle school art teacher with 16 years of experience. I'm here to help art teachers free up more time and space in their lives through lesson ideas and ready to go content rich, engaging curriculum. Categories
Syllabus Planning
Sketchbook Covers First Day of School Avoid Teacher Burnout Digital Self Portraits Surrealist Techniques Features of the Face Bilateral Mirror Activity Gees Bend Art Lesson Arts Assessment Favorite Fall Lessons Chicano Artists Art Materials Guide IB Process Portfolio What is Art? Pattern Design Figure Drawing |

 RSS Feed
